Azure
The purpose of this guide is to walk through some best practices for accessing private resources on Azure by deploying Cloudflare’s lightweight connector, cloudflared.
We will walk through how to initialize a service on a Linux VM in Azure, and route to it from another VM running cloudflared. This deployment guide does not take into account routing beyond basic security groups and default VPCs.
- In Zero Trust, create a Cloudflare Zero Trust account.
- Enroll an end-user device into your Cloudflare Zero Trust account.
Make sure you sign up for Azure and create a new subscription.
-
First, create your first resource group.

-
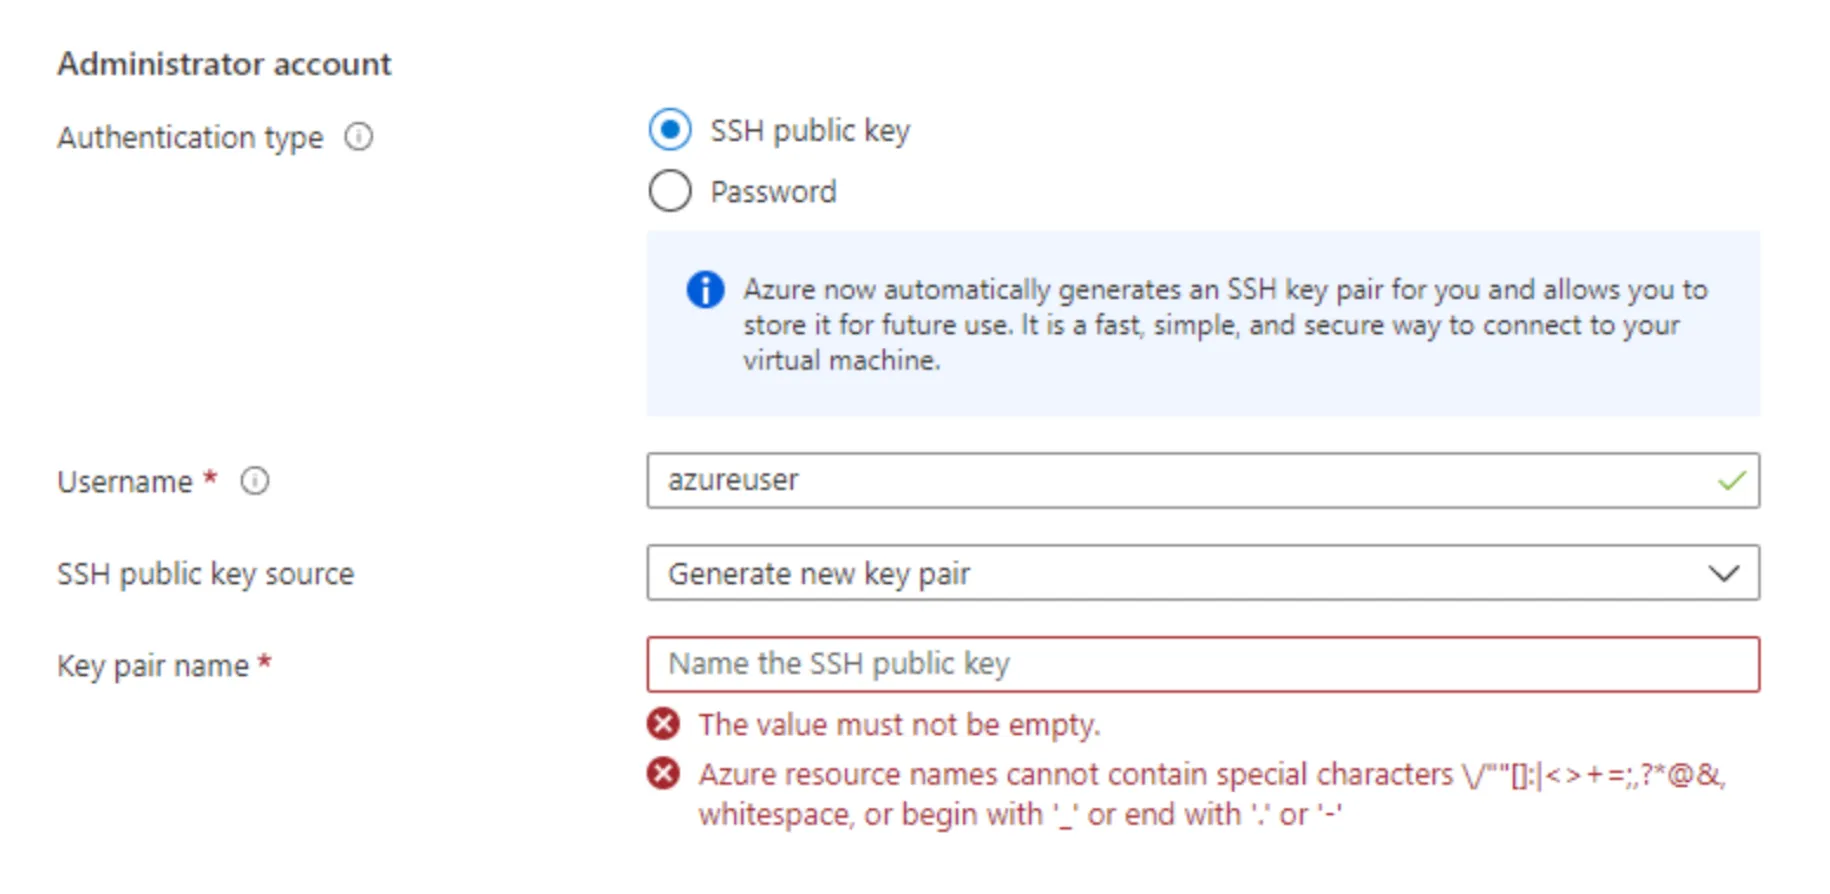
In addition, create your first keypair as well. You will be using the keypair to SSH into your Virtual Machine.
-
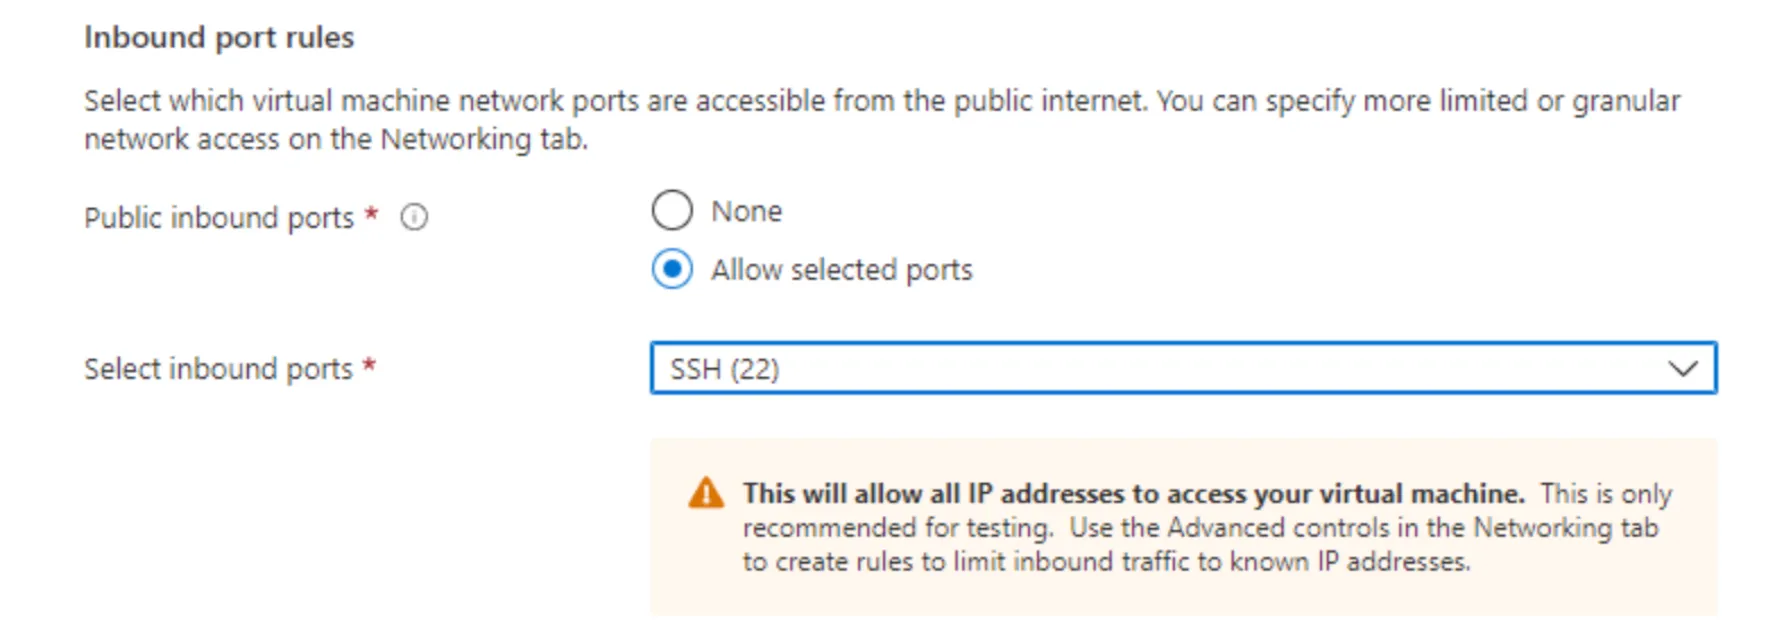
Next, define your inbound and outbound ports to the VM. If these ports are not configured properly, the solution will not function as intended. For testing purposes, we will leave access open.
Create two Ubuntu 20.04 LTS VMs, and make sure you record their internal IP addresses. Azure by default uses the 10.0.0.0/8 subnet.
-
SSH into your Azure instance using the command line.
Terminal window $ cd DownloadsTerminal window $ ssh -i <private key path> azureuser@20.115.124.241 -
Run
sudo suto gain full admin rights to the Virtual Machine. -
Install
cloudflaredon your instance. In this example, we are running a Debian-based instance, so use the Debian package ofcloudflared:- Add Cloudflare’s package signing key:
Terminal window $ sudo mkdir -p --mode=0755 /usr/share/keyrings$ curl -fsSL https://pkg.cloudflare.com/cloudflare-main.gpg | sudo tee /usr/share/keyrings/cloudflare-main.gpg >/dev/null- Add Cloudflare’s apt repo to your apt repositories:
Terminal window $ echo "deb [signed-by=/usr/share/keyrings/cloudflare-main.gpg] https://pkg.cloudflare.com/cloudflared $(lsb_release -cs) main" | sudo tee /etc/apt/sources.list.d/cloudflared.list- Update repositories and install cloudflared:
Terminal window $ sudo apt-get update && sudo apt-get install cloudflared -
Run the following command to authenticate
cloudflaredwith your Cloudflare account. The command will launch a browser window where you will be prompted to log in with your Cloudflare account and pick any zone you have added to Cloudflare.Terminal window $ cloudflared tunnel login -
Create a tunnel.
Terminal window $ cloudflared tunnel create Azure-01
-
Make a directory for your configuration file.
Terminal window $ mkdir /etc/cloudflaredTerminal window $ cd /etc/cloudflared -
Build a configuration file. Before moving forward and entering vim, copy your Tunnel ID and credentials path to a notepad.
Terminal window $ vim config.yml -
Type
ito begin editing the file and copy-paste the following settings in it.tunnel: <Tunnel ID/name>credentials-file: /root/.cloudflared/<Tunnel ID>.jsonprotocol: quicwarp-routing:enabled: truelogfile: /var/log/cloudflared.log#cloudflared to the origin debugloglevel: debug#cloudflared to cloudflare debugtransport-loglevel: info -
Press
escand then enter:xto save and exit. -
Run
cloudflaredas a service.
$ cloudflared service install$ systemctl start cloudflared$ systemctl status cloudflaredNext, visit Zero Trust and ensure your new tunnel shows as active. Optionally, begin creating Access policies to secure your private resources.